
Account setup
Business and branches
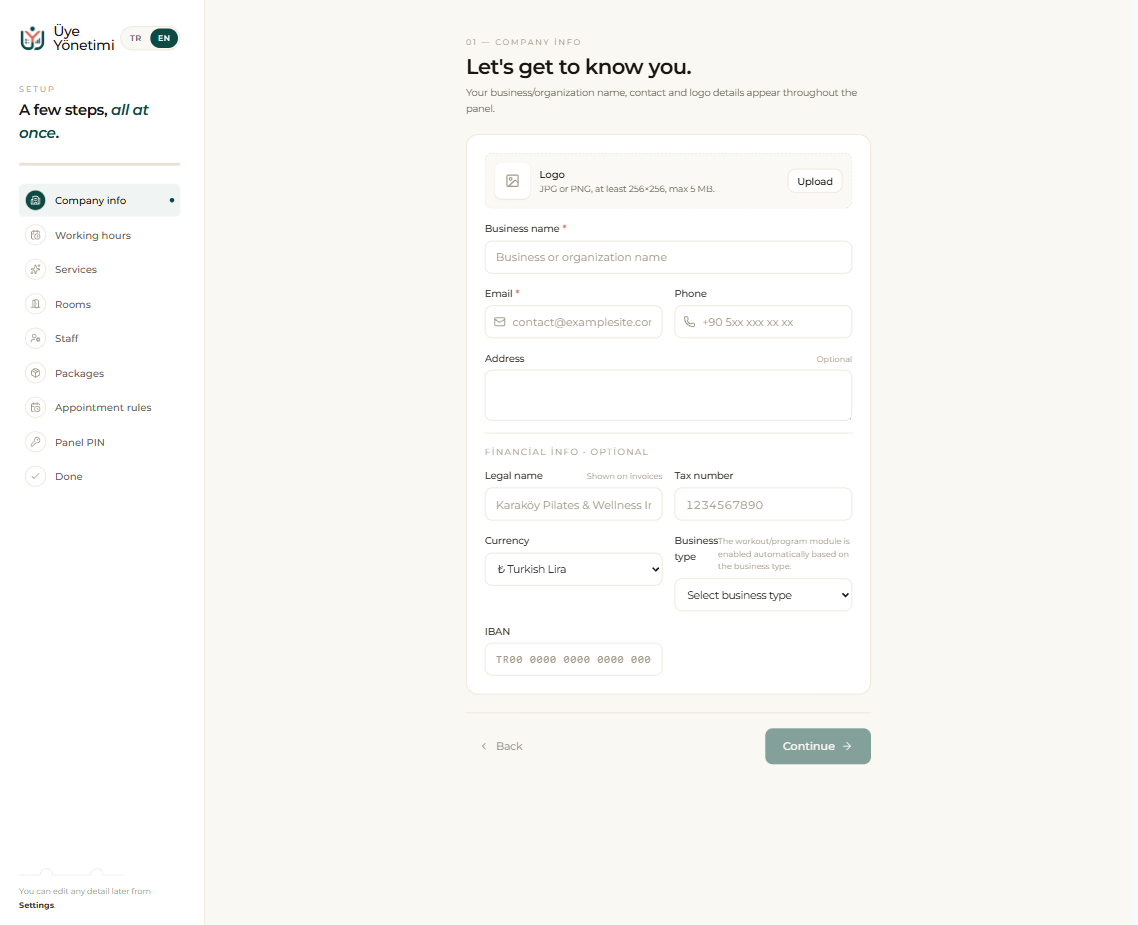
On your first login you start by entering your business’s basic details (name, logo, contact). If you operate from a single location the default branch is enough; if you have more than one location you add each as a separate branch and later switch between them with a single click.
Each branch has its own working hours, staff and calendar. That is why starting the setup by defining your branches makes every later step easier. You can change any of these details at any time from Settings — including your language and time zone under Preferences.
Services and working hours
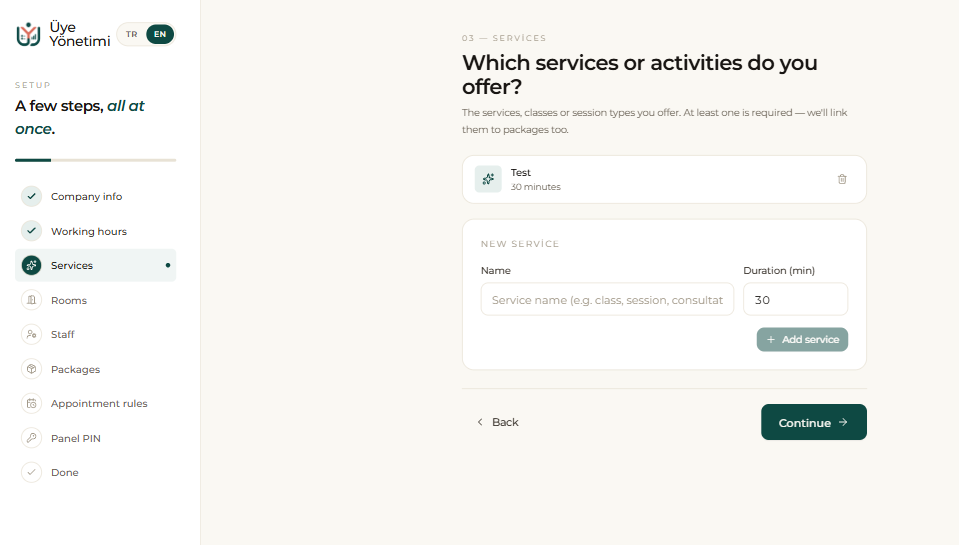
You define every service you offer with its duration and price; for example “Reformer Pilates – 50 min – ₺400”. You can group services into categories and set a default capacity for group classes. Because you pick from these defined services when creating an appointment, the duration and fee come in automatically.
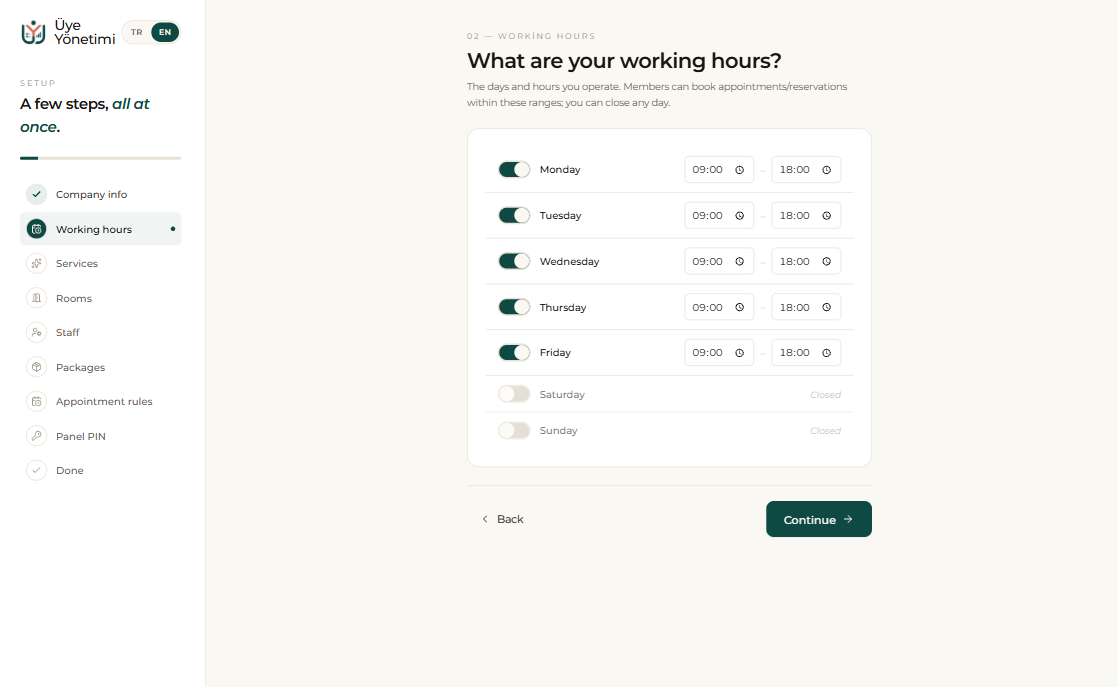
When you enter your working hours, the calendar takes shape around those ranges; appointments cannot accidentally be created during the hours you are closed.
Staff and rooms
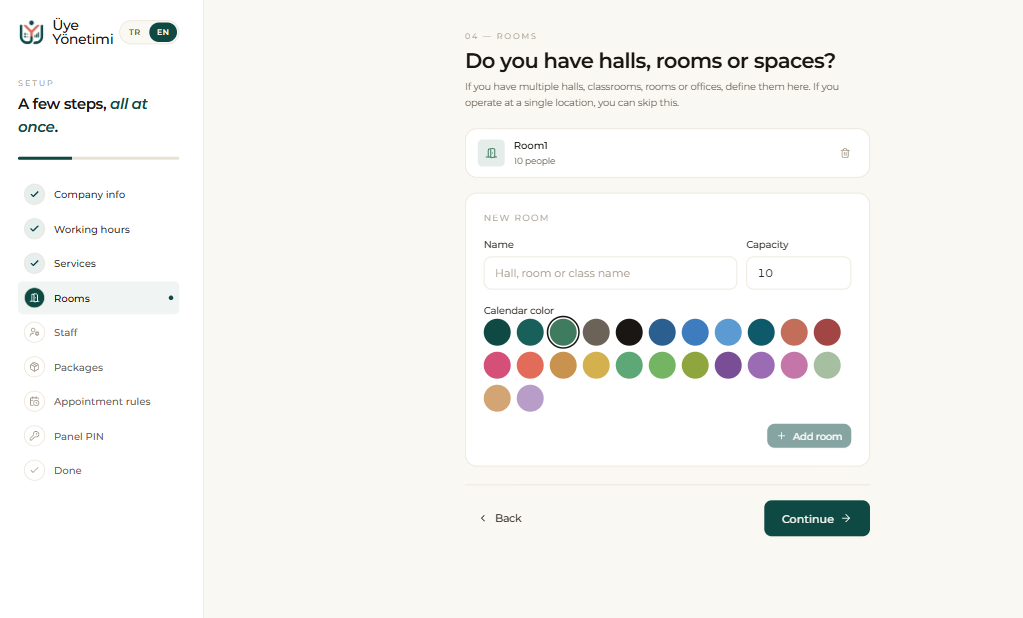
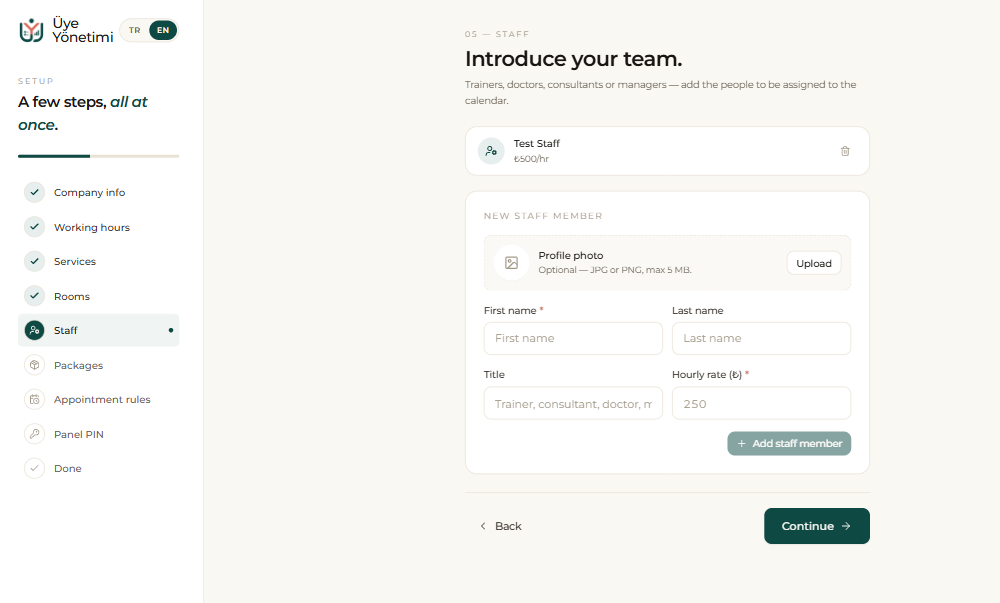
If you have multiple halls, classrooms, rooms or offices, you define them here with a capacity and a calendar color; if you work from a single space you can skip this. You then add the people on your team as staff and give each one a role and permissions (see Security & permissions for details). You set which staff member provides which service and their commission, if any; this information is later used automatically in earnings calculations.
Finally you add your members. You can enter members by hand; if you already have a list, our team can migrate it for you. After this step you are ready for daily use — opening appointments and collecting payments.
Packages, rules and finishing up
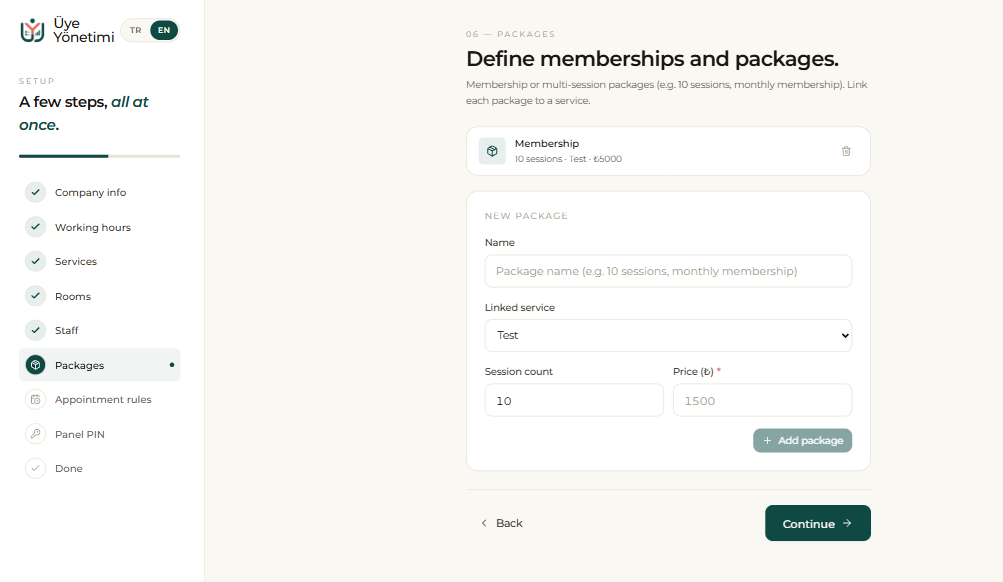
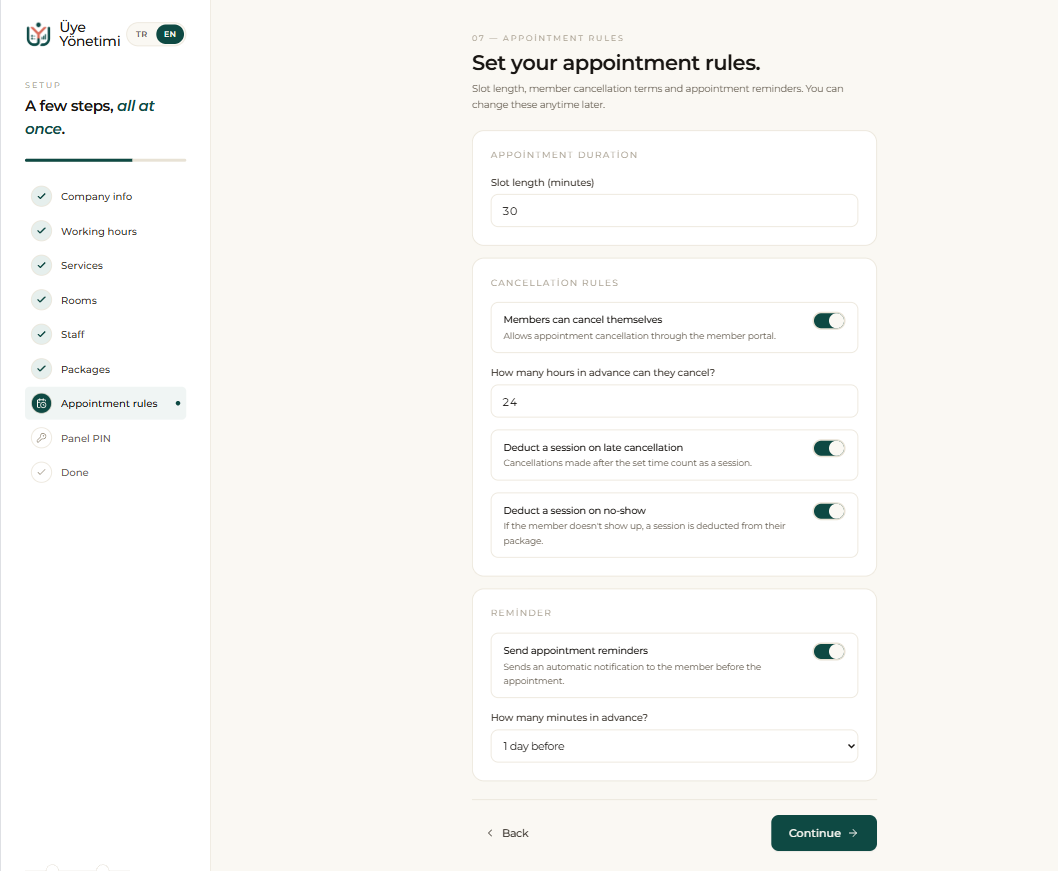
Next you define your memberships and packages — for example a 10-session or monthly membership — and link each one to a service. You then set your appointment rules: the slot length, how far in advance members may cancel, whether a no-show deducts a session, and the automatic appointment reminder.
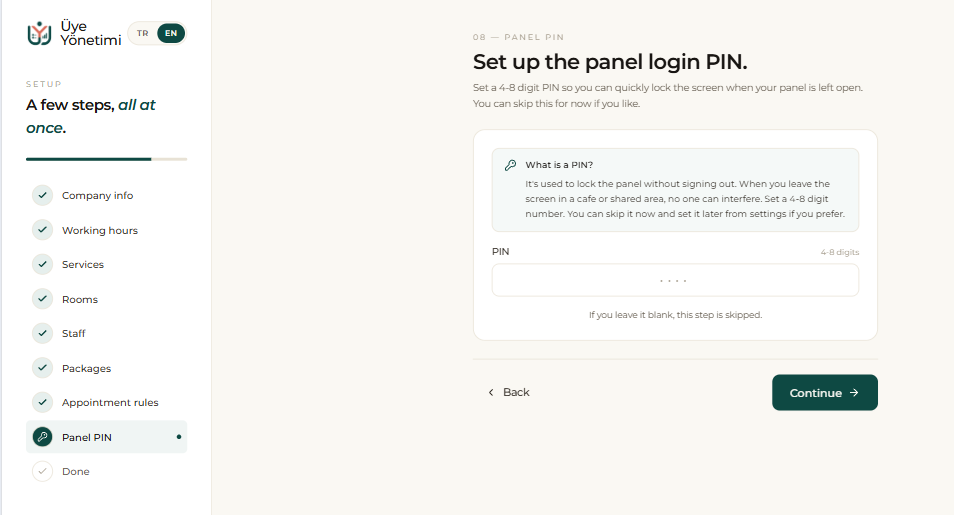
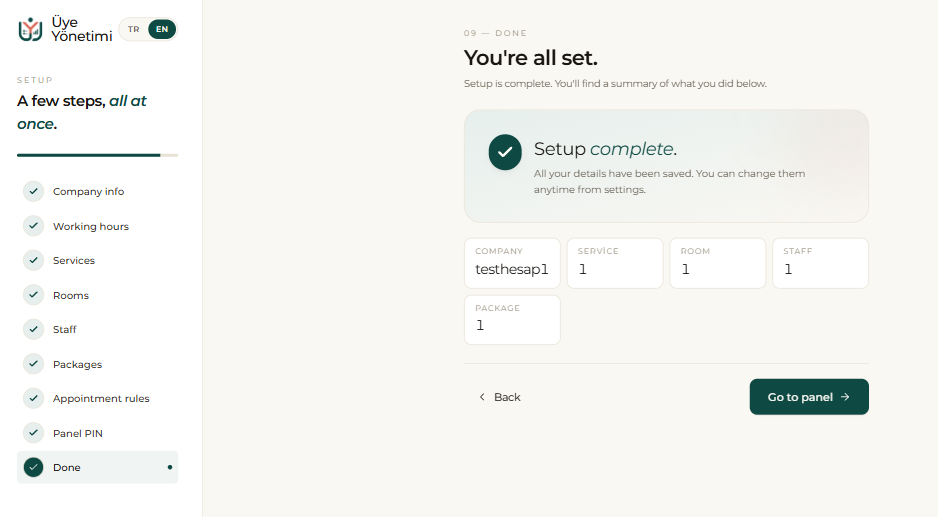
As a last step you can set a 4–8 digit panel PIN so you can quickly lock the screen when you step away from a shared device (you may skip this for now). When the wizard reaches “Done”, your setup is complete and you can go straight to the panel.
Step by step
- 1 On the setup wizard that opens at first login, enter your business name, logo and contact details.
- 2 If you have a single location, continue with the default branch; if you have more than one, add each from Settings later.
- 3 On step “Services”, add every service you offer with its name and default duration.
- 4 On step “Working hours”, enter your opening–closing hours; the calendar takes shape around these ranges.
- 5 On step “Rooms”, define your halls/rooms with a capacity (skip if you operate from a single space).
- 6 On step “Staff”, add your team and give each person a title and hourly rate.
- 7 On step “Packages”, create your memberships/packages and link each to a service.
- 8 On step “Appointment rules”, set the slot length, cancellation terms and reminders, then finish the wizard.
If you already have member, package and balance data, our team can migrate it into the system for you. Data migration is not included in the price; it is optional and done on request.