
Settings
Profile and preferences
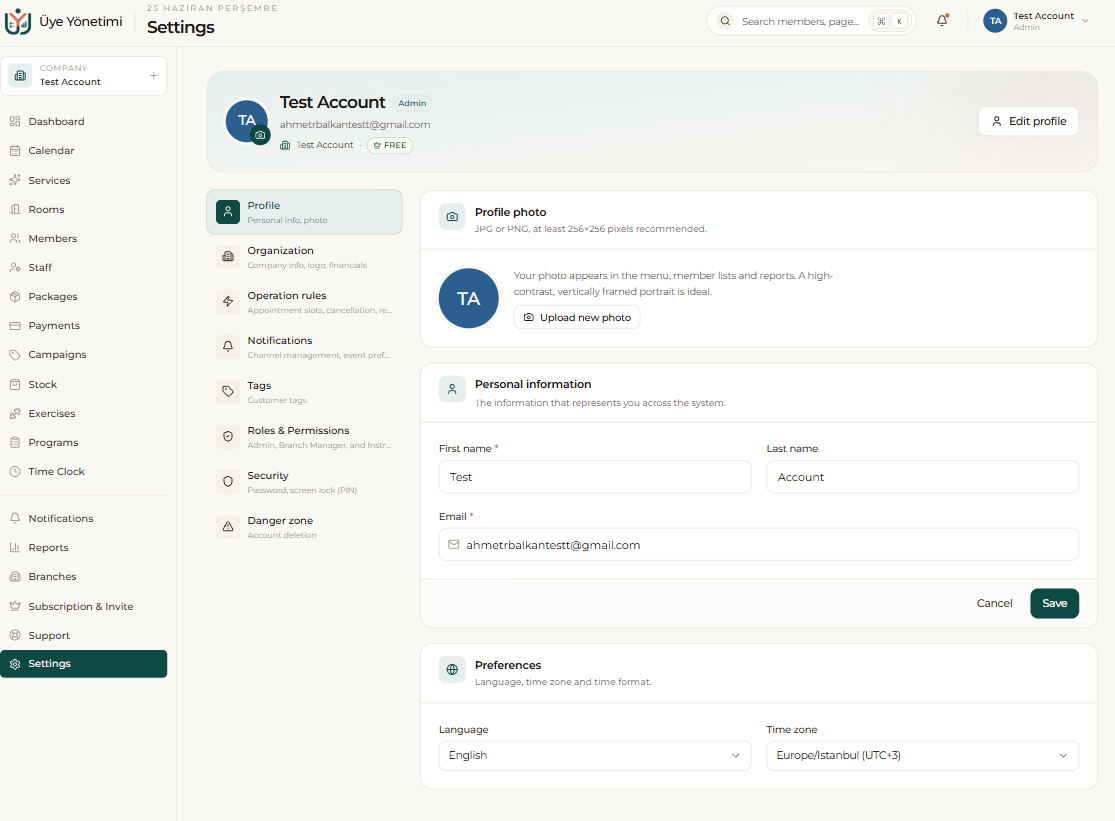
Your profile holds the personal details that represent you across the system — name, email and photo — which appear in the menu, member lists and reports. A high-contrast, vertically framed portrait works best.
Under Preferences you set your language and time zone; the whole panel, the dates and the public booking page follow these. Switching the language here moves the panel between Turkish and English instantly, without touching your data.
Organization and business type
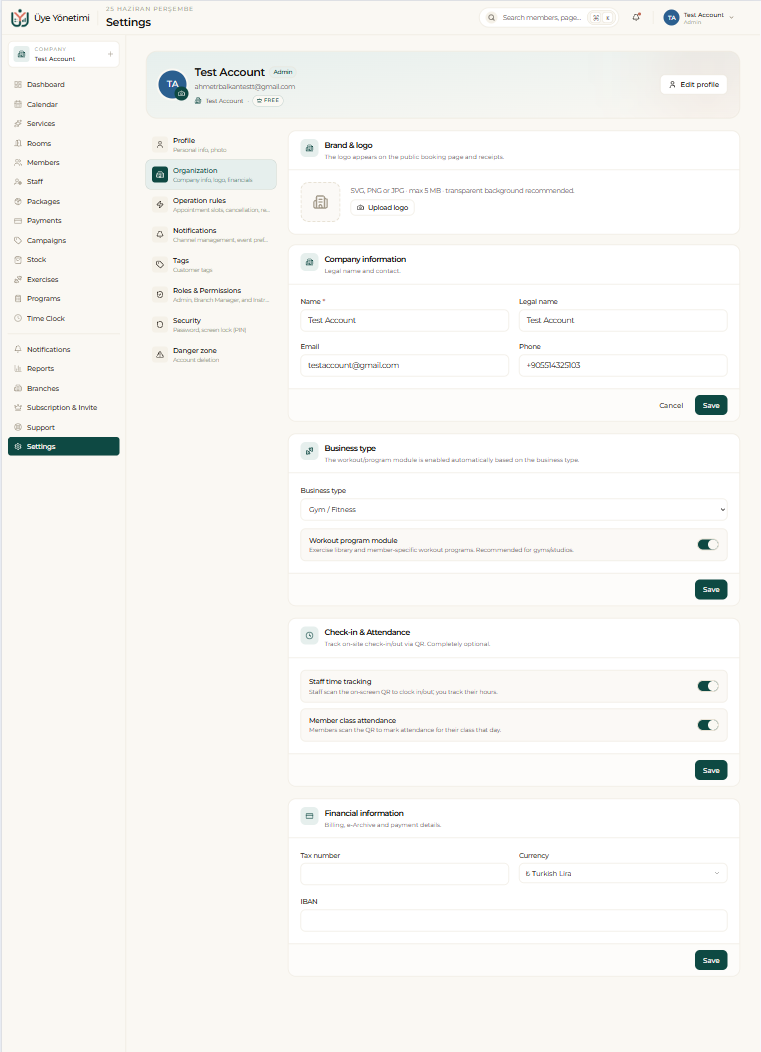
Under Organization you manage your brand and logo (shown on the public booking page and on receipts), your company’s legal name and contact details, and your financial information (tax number, currency, IBAN).
You also pick your business type here. When you choose a gym/fitness type, the workout-program module — the exercise library and member-specific programs — is enabled automatically. The Check-in & Attendance switches let you turn QR-based staff time tracking and member class attendance on or off.
Operation rules
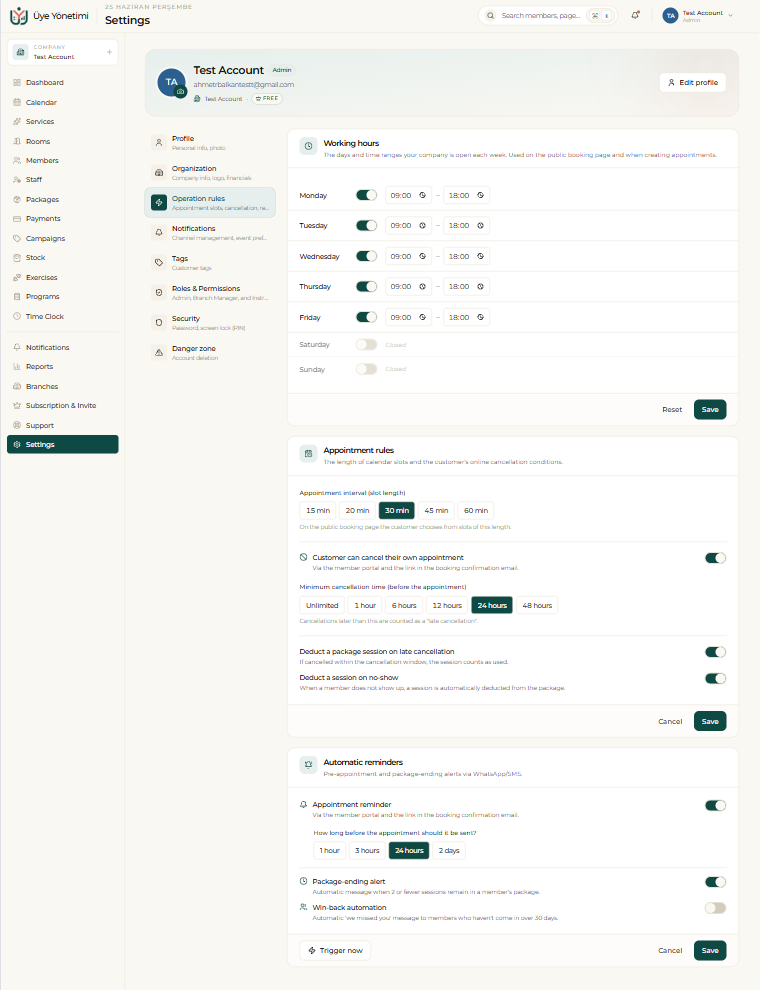
Operation rules gather the day-to-day behavior of the calendar in one place: your weekly working hours, the appointment slot length (15 / 20 / 30 / 45 / 60 min), and the conditions under which members can cancel online.
You also control automatic reminders here — the pre-appointment reminder, the package-ending alert and the win-back message for members who haven’t come in a while. These are the same rules you set during setup, and you can change them at any time.
Customer tags
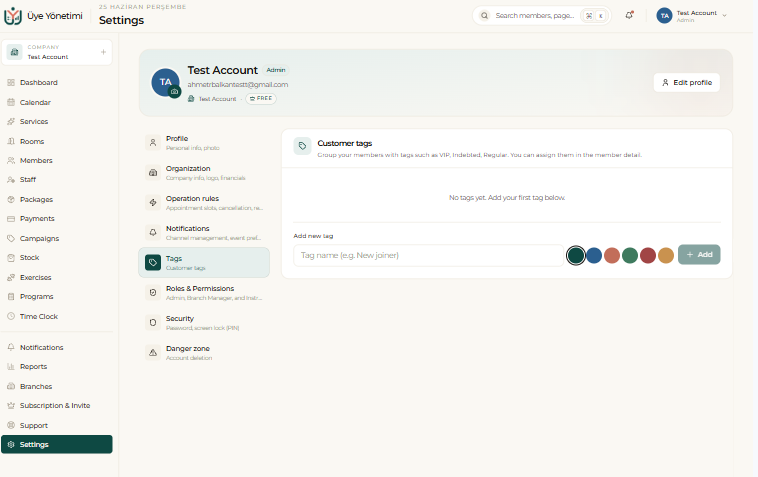
Tags let you group your members with labels such as VIP, Indebted or Regular. You create and color-code them here, then assign them on the member card.
Tags then power your filters and targeting: you filter the member list by tag and send campaigns or messages to exactly the right audience.
Step by step
- 1 Open “Settings” from the bottom of the left menu.
- 2 On the Profile tab, edit your name, photo and email, and set your language and time zone under Preferences.
- 3 On the Organization tab, upload your logo and enter your company info, business type and financial details.
- 4 On the Operation rules tab, set your working hours, appointment slot length, cancellation terms and reminders.
- 5 On the Tags tab, create the customer tags you’ll use and give each a color.
- 6 Each tab saves on its own — remember to press “Save” after each change.
The other Settings tabs map to their own guide pages: Notifications → “WhatsApp, SMS & notifications”, and Roles & Permissions / Security → “Security & permissions”.